This post may contain affiliate links. As an Amazon Associate, we earn from qualifying purchases. We only recommend products we trust.
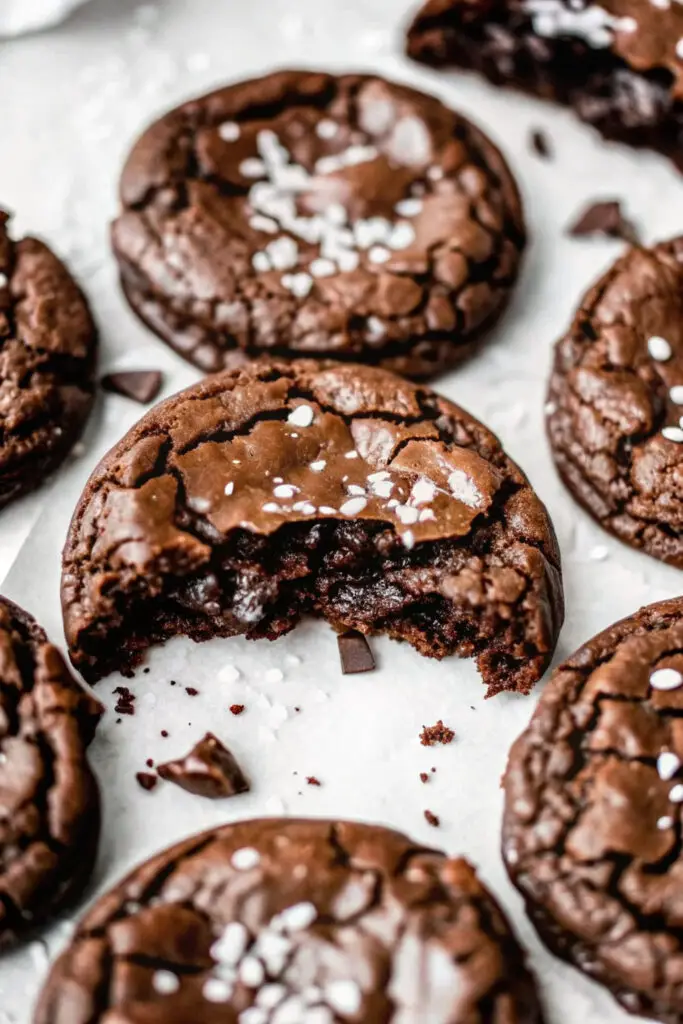
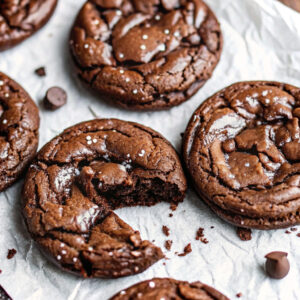
Take your dessert game to the next level with these absolutely stunning Fudgy Chewy Browkies. This recipe uses a classic, reliable dark chocolate brownie base, which we divide, top with a vibrant golden chocolate chip cookie dough, and gently bake together to create a beautiful, watercolor effect. The result is a delicious, buttery hybrid treat that holds its texture perfectly and requires no further decorating (though a sprinkle of sea salt is a perfect finish!).
This technique is incredibly fun and surprisingly easy, giving you the best of both worlds: a great-tasting rich brownie and a beautiful, festive visual. Unlike techniques that rely on simple mixing, these layers are pressed right into the pan, making these decadent squares an elegant and simple option for your loved ones.
Perfect for birthday parties, holiday bake sales, or romantic dessert recipes for date night, these browkies combine professional bakery appearance with homemade love.
Table of Contents
Why You’ll Love This Browkie Recipe
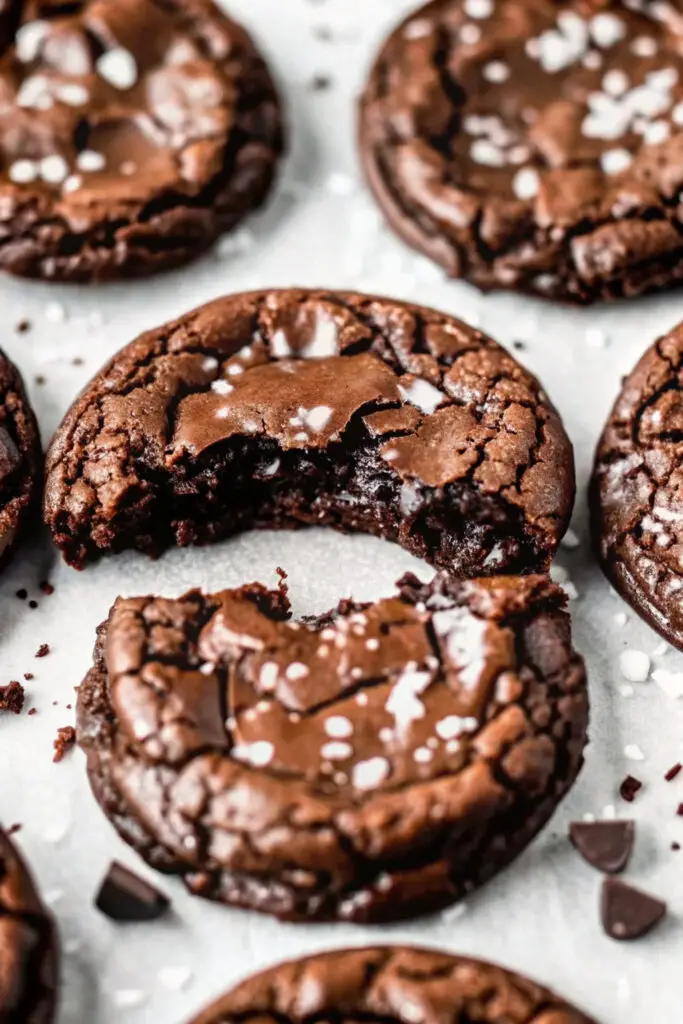
Stunning Visual: The gentle mixing of the deep mahogany brownie and the light amber cookie dough creates a unique, artful marbled effect on every square.
Texture-Lock Guarantee: The recipe is formulated with a specific chilling method to maintain a fudgy center, essential for perfect chewy bars.
Fun to Make: The process of “dropping” the cookie dough onto the brownie batter and watching the patterns emerge is a wonderful, meditative activity—ideal for family baking.
Classic Flavor: A simple, savory-sweet cocoa and vanilla bean base that everyone loves.
No Complicated Frosting Required: Unlike traditional layer cakes, these are beautiful right out of the oven with no difficult decorating.
Ingredients for Fudgy Chewy Browkies
- Brownie Layer: ½ cup Unsalted Butter (melted), 1 cup Granulated Sugar, 2 large Eggs, 1 tsp Vanilla, ⅓ cup Cocoa Powder, ½ cup Flour
- Cookie Layer: ½ cup Unsalted Butter (softened), ½ cup Brown Sugar, ¼ cup Granulated Sugar, 1 large Egg, 1 cup Flour, ½ tsp Baking Soda, 1 cup Chocolate Chips
- A pinch of Sea Salt for the top
Best Ingredients for Brookies
For the most vibrant results in your chocolate-tinted creations, use high-quality Dutch-processed cocoa powder. Professional brands like Valrhona or Guittard produce the most saturated color without adding excess bitterness to your bars. Premium dark chocolate chips or hand-chopped chunks can be added for variation, and high-quality Madagascar vanilla extract elevates the flavor profile significantly.
Instructions (Step-by-Step): How to Make Fudgy Browkies
Step 1: Prep Brownie Base Preheat your oven to 350°F. In a medium bowl, whisk together the melted butter and sugar. Add the eggs and vanilla, whisking until the mixture is a vibrant, glossy brown—just enough until bubbles are visible. Stir in the cocoa and flour. Pour this into an 8×8 inch lined pan.
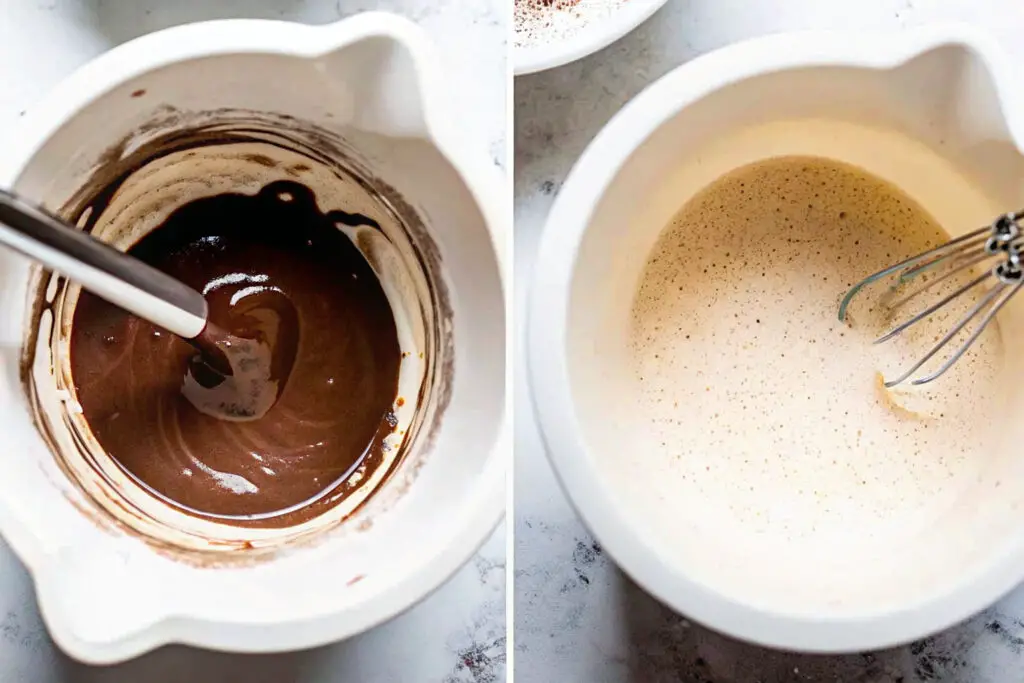
Step 2: Divide and Tint (The Cookie Dough) In a separate bowl, cream together the softened butter and sugars. Beat in the egg and vanilla. This provides the light golden-white tint to our cookie base. Fold in the flour, baking soda, and chocolate chips until a thick dough is formed.
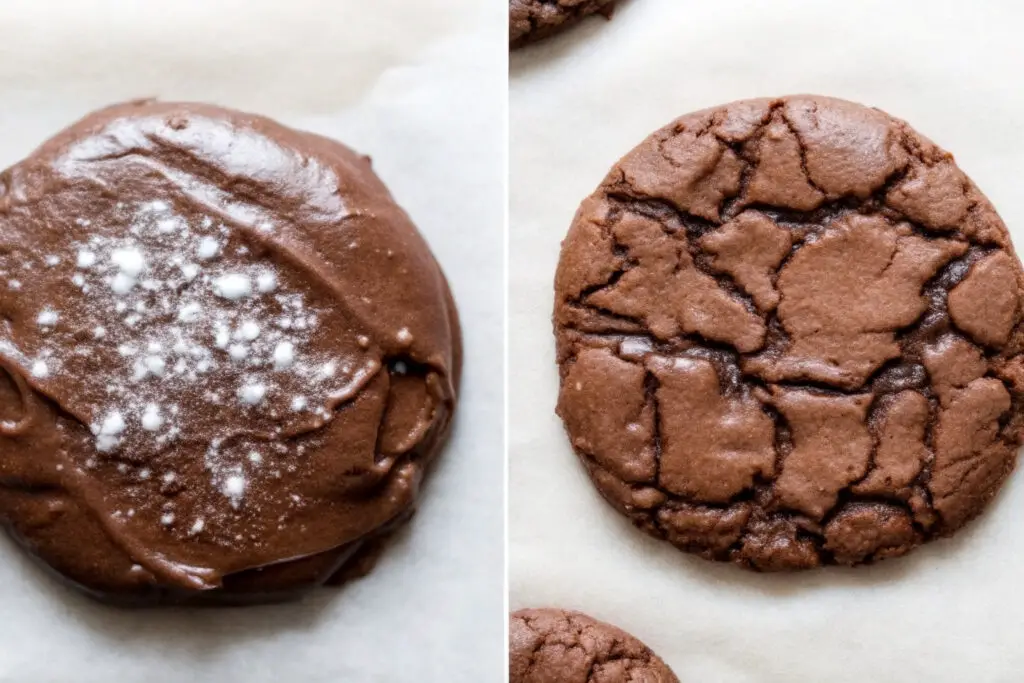
Step 3: Create Marbled Effect Using your hands or a scoop, drop small flattened discs of the cookie dough over the brownie layer. Do not press them all the way to the bottom; we want a bouquet of cookie “islands” to stay on top. This is the key technique for achieving stunning marbled depth.
Step 4: Bake (The “Fudgy” Step) Place the pan in the oven and bake for 25–30 minutes. This is essential for a great-tasting, chewy set and a beautiful visual. Do not overbake; the center should still be slightly soft to the touch.
Step 5: Salt (The “Butter” Step) Immediately upon removing from the oven, sprinkle the top with flaky sea salt. This is essential for a professional finish and a beautiful glistening visual against the dark chocolate.
Step 6: Cool (Crucial Step) Allow the bars to cool completely in the pan for at least 2 hours. This is the best way to prevent the layers from separating and guarantee perfect, restaurant-quality slices. This is one of the most important professional browkie making techniques.
Step 7: Cut and Serve Using a sharp knife, slice the browkies into 16 squares. Allow the pieces to sit for 1 minute before serving to showcase the beautiful marbled cross-sections.
Storage and Expert Tips for Professional Brookie Baking
Essential Tips:
Brown Sugar is Required: Real dark brown sugar is non-negotiable for the cookie layer. White sugar will add too much crunch to the top, causing the layers to feel disjointed, and the flavor will not be vibrant enough for stunning chewy treats.
Do Not Overwork the Batter: When adding the dry ingredients (Step 1 and 2), use a light hand. The goal is to see a distinct fudgy texture, not a uniform cake-like crumb. This creates the signature marbled browkie effect.
The Cold-Dough Secret: If your kitchen is warm, chill the cookie dough for 15 minutes before dropping it onto the brownie. The more you keep the dough firm, the better the “islands” will hold their shape during baking.
Final Cool is Gold: Even if you’re hungry, the full 2-hour wait (Step 6) is the key hack for guaranteed sharp-edged squares. This is one of the most important professional bakery decorating techniques.
Temperature Control: Use room-temperature eggs. Cold eggs create “clumpy” butter in the batter, while room-temperature eggs allow the fats to incorporate perfectly into the sugar.
Storage Instructions: Store the browkies in an airtight container at room temperature for up to 4 days. For longer storage, freeze the sliced bars for up to 3 months. Reheat in a 300°F oven for 5 minutes to restore the “fresh-baked” fudgy texture.
Creative Variations for Decadent Desserts
Peanut Butter Swirl Finish Once the layers are assembled, swirl a tablespoon of warm peanut butter over the top for definition. This creates an elegant “savory-sweet” effect with zero extra effort.
Red Velvet Variation Use a red velvet brownie base for a shimmering finish perfect for Valentine’s Day or upscale celebrations.
Pretzel and Toffee Infusion Add crushed pretzels and toffee bits to the cookie layer. Immediately sprinkle with extra toffee for texture and color contrast against the chocolate.
Marshmallow “S’mores” Infusion Top the bars with mini marshmallows during the final 5 minutes of baking. This adds richness while showcasing the beautiful toasted white pattern underneath.
Espresso Infusion Add a teaspoon of instant espresso powder to the brownie batter. This adds a bright richness while showcasing the beautiful dark mahogany pattern underneath.
Best Baking Pans and Pantry Supplies for Brookies
Transform your easy dessert creations into professional-quality treats with the right pantry supplies. Here’s what works best:
Top Choice Ingredients:
- Dutch Cocoa: For a dark, extra-rich theme that adds chocolatey charm
- Semi-Sweet Chunks: For varying levels of deep brown and amber dimension
- Maldon Sea Salt: For an upscale, shimmering presentation
- Brown Butter: Swap melted butter for browned butter for a deeper amber tint
- Vanilla Bean Paste: For sparkling, speckled edges in the cookie dough
Essential Baking Tools:
- 8×8 Inch Square Pan: Invest in a heavy-duty metal pan for variety and even heat
- Parchment Paper Slings: Ensures you can remove the bars without distortion
- Cookie Scoop: Perfect for portioning dough “islands” without damage
- Whisk: Essential for creating a glossy brownie skin without over-mixing
These supplies are available at kitchen specialty stores or through online retailers. Using professional baking tools elevates your results significantly.
Serving Suggestions for Family Parties
Festive Occasions: Ideal for potlucks, graduation parties, movie nights, or casual “Baking Sunday” celebrations. These browkie ideas work beautifully as part of a larger dessert spread.
Perfect Pairings:
- Cold Milk: The classic pairing that balances rich dark chocolate
- Vanilla Bean Ice Cream: The creamy coldness pairs perfectly with fudgy warm bars
- Fresh Raspberries: For a healthy dessert (sort of!), serve alongside tart red berries
- Espresso: Adult-friendly pairing for late-night healthy treats
Dessert Table Presentation: Arrange browkies on a large wooden board with varying heights using stacked rows. Mix with other colorful treats like blondies, cookies, and fruit skewers for visual impact.
Homemade Gift Packaging Ideas for Gifting
Transform your homemade romantic recipes into thoughtful gifts with creative packaging:
Individual Packaging:
- Small brown paper bags tied with kitchen twine
- Mini bakery boxes with clear windows (available at craft stores)
- Glass jars filled with the dry ingredients and a recipe card
- Decorated paper sleeves for single-serving treat portions
Bulk Gifting:
- Decorative tins filled with parchment-layered squares
- “Bakery Fresh” gift boxes with custom labels
- Stacked bars wrapped in clear wrap and finished with a bow
- Dessert towers arranged on decorative platters wrapped in cellophane
Add personalized tags with messages like “A Sweet Hybrid” or “Made with Love” to complete the presentation. These packaging ideas work beautifully for neighbors, teachers, coworkers, or anyone special.
Fudgy Chewy Browkies
Equipment
- 8×8-inch baking pan
- Whisk
- two mixing bowls
- Spatula
Ingredients
- 0.5 cup butter, melted (for brownie layer)
- 0.5 cup butter, softened (for cookie layer)
- 1 cup granulated sugar
- 0.75 cup brown sugar
- 3 eggs
- 1 tsp vanilla extract
- 1 cup all-purpose flour (for brownie layer)
- 0.5 cup all-purpose flour (for cookie layer)
- 0.3 cup cocoa powder
- 1 cup chocolate chips
- 0.5 tsp baking soda
- 0.5 tsp sea salt (plus extra for topping)
Instructions
- Preheat the oven to 350°F (175°C). Line an 8×8-inch baking pan with parchment paper.
- In a bowl, whisk together melted butter, granulated sugar, eggs, vanilla, cocoa powder, and 1 cup flour until smooth to create the brownie batter.
- Spread the brownie batter evenly into the prepared pan.
- In another bowl, cream the softened butter with brown sugar. Add one egg and vanilla and mix until smooth.
- Stir in the remaining flour, baking soda, sea salt, and chocolate chips to form cookie dough.
- Drop small pieces of cookie dough evenly over the brownie batter.
- Bake for 25–30 minutes until the center is set but still soft.
- Sprinkle with flaky sea salt immediately after baking.
- Let the browkies cool completely in the pan for about 2 hours before slicing into 16 squares.
Notes
Frequently Asked Questions About Browkies
Q: Why are mine more like cake than fudge? A: You likely overbaked them or over-mixed the flour! To guarantee a fudgy result: 1) Use the exact flour amount. 2) Stop mixing as soon as the flour disappears. 3) Take them out while the center is still soft.
Q: How do I ensure my cookie layer doesn’t sink? A: To guarantee a perfect layer: 1) Chill your cookie dough. 2) Don’t press the dough into the batter. 3) Use the “flattened disc” method (Step 3). These are the most reliable techniques for perfect browkies.
Q: Why does the recipe use melted butter for the brownie but softened for the cookie? A: Melted butter creates the dense, fudgy texture essential for brownies. Softened butter creamed with sugar creates the airy, chewy lift essential for cookies. For professional results, this distinction is essential.
Q: How long will the browkies stay fresh? A: Store the bars in an airtight container for up to 4 days. They actually taste better the next day as the moisture migrates between layers, making them ideal for quick snack needs when unexpected guests arise.
Q: Can I make these without a mixer? A: Absolutely! You can use a whisk and a sturdy spoon. The marbled effect looks stunning regardless of the mixing method.
Q: Are these bars good for kids? A: Yes! The “two-treats-in-one” concept is fun and forgiving, making these perfect for healthy baking activities for the whole family.
Q: What’s the best way to transport these without them breaking? A: Keep them in the pan or wrap them tightly in parchment. The dense brownie base is more durable than standard cake. For gift-giving, individual boxes provide protection.
Q: Can I add nuts to the batter? A: While possible, nuts can add moisture and interfere with the silky fudgy effect. For best results, keep the base to chocolate or try adding walnuts on top instead. This preserves the beautiful marbled pattern.
Q: How do I prevent the bottom from burning? A: The key is the pan placement. Ensure your oven rack is in the center—stop as soon as the edges pull away from the pan. Burning the bottom is a common mistake with dense brownies.
Q: Are these suitable as no-cook treats? A: No, the flour and eggs must be baked to a safe temperature. However, they’re so easy to make that they’re just as convenient as many 30-minute meals. The total active time is under 15 minutes.
Why These Are the Best Fudgy Chewy Browkies Recipe
If you’re searching for easy dessert dinners that look professional without requiring advanced pastry skills, these browkies are your answer. The built-in decoration means no frosting required, no piping frustration, and no hours spent in the kitchen.
The layer-to-square formula ensures every piece looks bakery-perfect, while the “island” technique creates unique, one-of-a-kind patterns that make each bite special. Whether you’re preping for a holiday party, preparing healthy lunchbox treats, or creating homemade treats for a friend, this recipe delivers consistent, beautiful results.
The buttery, savory-sweet flavor appeals to all ages, and the eye-catching dark and light swirls make this dish Instagram-worthy without any additional effort. These individual squares or classic large-batch pans work equally well for any celebration style.
More Dessert Ideas and Chewy Treats
Once you’ve mastered these browkies, explore other festive baking options and seasonal treats:
- Blondie Brookies: Use this same layer technique with white chocolate and caramel
- Mint Chocolate Browkies: Use this dough-free base with traditional peppermint chips
- S’mores Brookie Bars: Toss the dough with graham cracker crumbs for a quick weeknight twist
- Salted Caramel Infusion: Incorporate caramel sauce for natural golden color and rich flavor
- Red Velvet Brookies: Another stunning vibrant red option for cozy winter celebrations
The techniques you’ve learned here—proper butter melting, dough dropping, and the cool-cut method—translate perfectly to countless other bar recipes throughout the year.