This post may contain affiliate links. As an Amazon Associate, we earn from qualifying purchases. We only recommend products we trust.
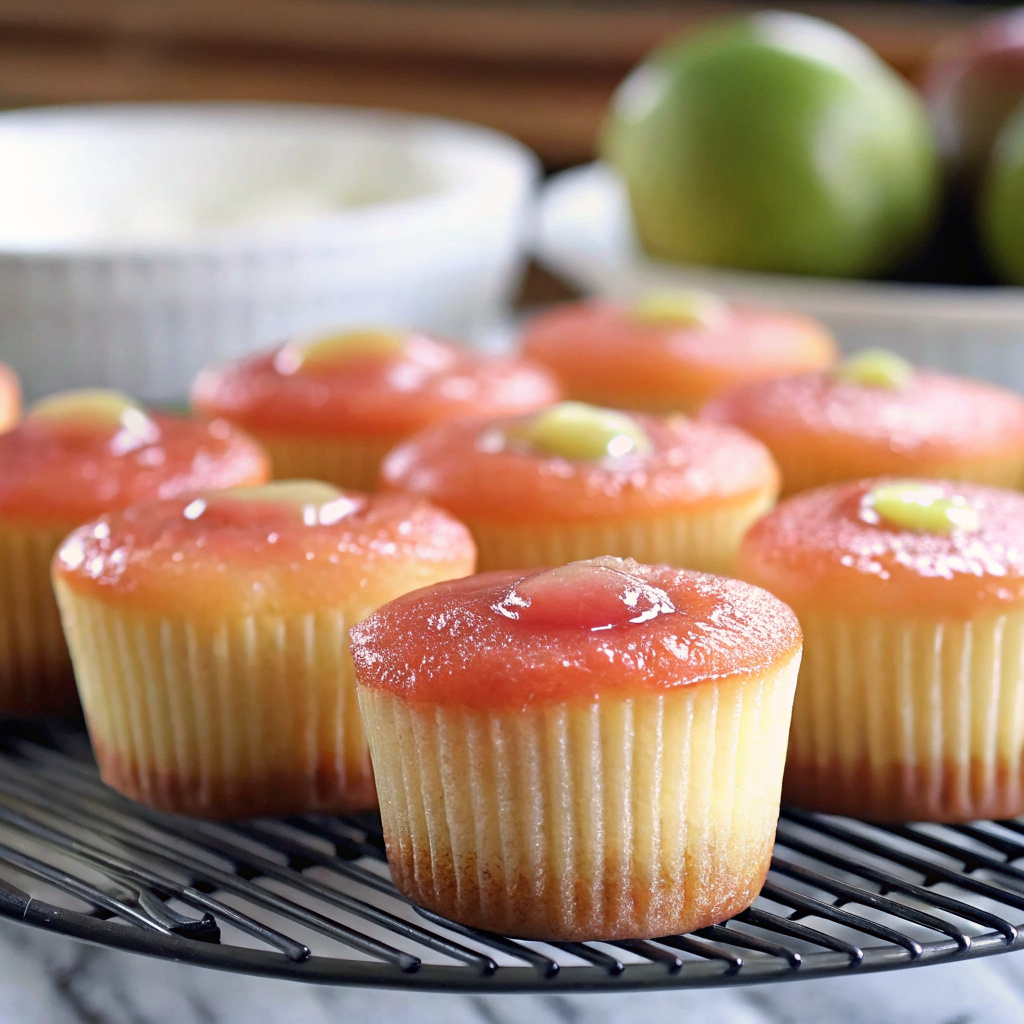
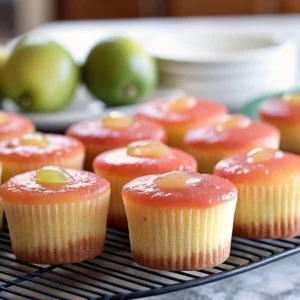
If you’ve ever walked into a local bakery in the islands, you know the vibrant pink glow of a classic guava cake is impossible to resist. These Hawaiian Mini Guava Cakes take that beloved tradition and turn it into an elegant, individual format. This isn’t just a basic cupcake; it’s a three-layer tropical experience featuring a light, airy chiffon-style sponge, a silky guava-infused cream cheese frosting, and a final, translucent guava gel topper that looks like a sunset on a plate.
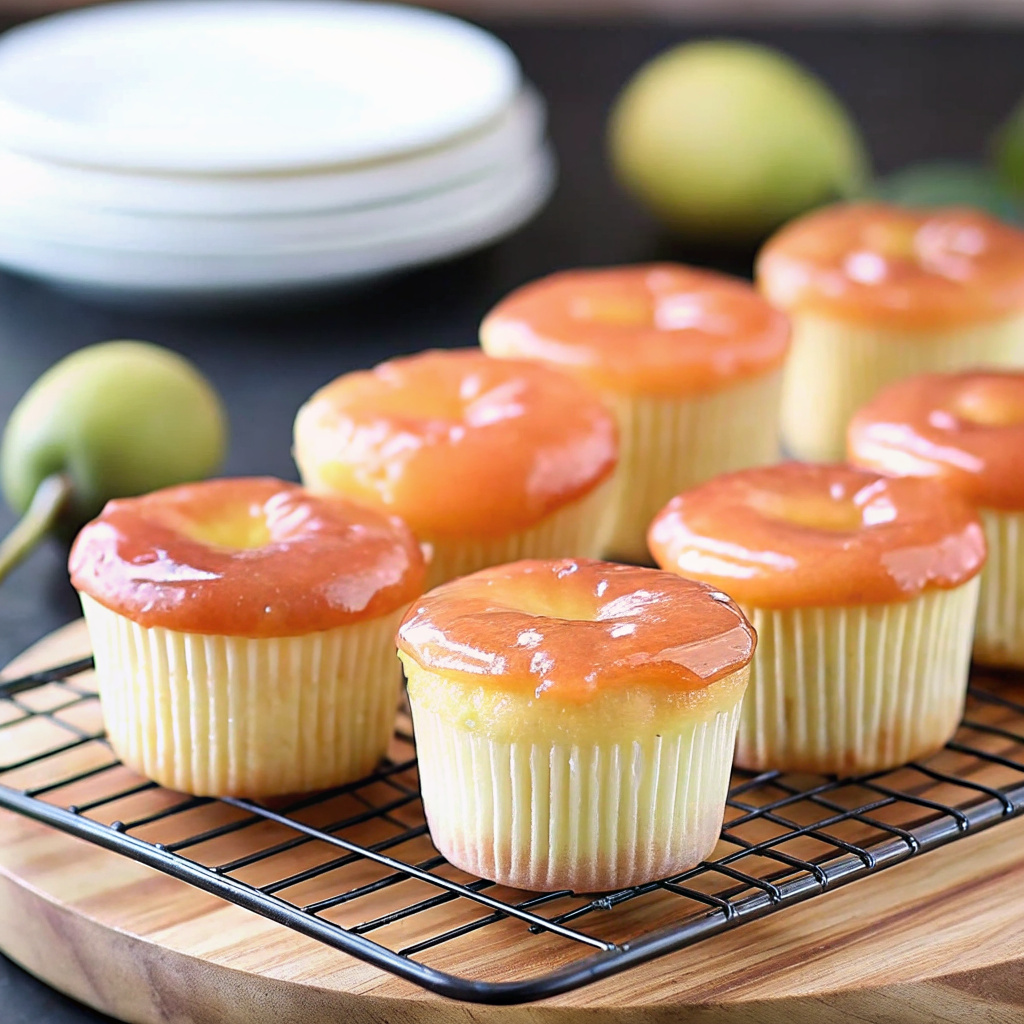
As a former chef, I’ve always appreciated the delicate balance of guava’s floral sweetness. The secret to this “Alice-approved” recipe is the triple guava infusion: it’s in the batter, the frosting, and the glaze. By using a concentrated guava nectar, you achieve that iconic coral-pink hue without needing excessive artificial dyes. Whether you’re hosting a summer luau or just want to bring a bit of “aloha” to your afternoon tea, these mini cakes are a guaranteed conversation starter.
Table of Contents
Why You’ll Love These Mini Cakes
- Stunning Visuals: The vibrant coral-pink layers make these the ultimate “pin-worthy” dessert.
- Tropical Flavor Profile: A refreshing blend of floral guava, tangy cream cheese, and light vanilla.
- Perfectly Portion Controlled: The mini format is ideal for parties and dessert tables.
- Multi-Textural Experience: Combines a soft sponge, fluffy frosting, and a smooth fruit gel.
- A Taste of Hawaii: Brings the authentic flavors of an island bakery directly to your kitchen.
What is Hawaiian Guava Cake?
Guava cake is a cult classic in Hawaii, popularized by local institutions like Dee Lite Bakery. It traditionally consists of a pink sponge cake made with guava juice, topped with a whipped cream or cream cheese frosting, and finished with a guava nectar glaze.
While the large sheet-cake version is common for family gatherings, the Mini Guava Cake adaptation provides a more sophisticated presentation. It captures the “Holy Trinity” of the dessert—the sponge, the cream, and the gel—in a bite-sized format that balances the intense fruitiness with a light, airy crumb.
Ingredients List
The Guava Sponge:
- 1 ½ cups Cake Flour: For the softest, most delicate crumb.
- 1 cup Granulated Sugar: To sweeten.
- 1 tbsp Baking Powder & ½ tsp Salt: For lift and balance.
- ¾ cup Guava Nectar: Use a high-quality concentrate for the best color and flavor.
- ½ cup Vegetable Oil: Keeps the cake moist even when chilled.
- 4 Large Eggs: Separated (yolks for the batter, whites for the lift).
Guava Cream Cheese Frosting:
- 8 oz Cream Cheese: Softened to room temperature.
- ½ cup Unsalted Butter: Softened.
- 2 cups Powdered Sugar: Sifted.
- 2 tbsp Guava Nectar: For flavor and a hint of pink.
The Guava Gel Topping:
- 1 cup Guava Nectar: The base of the glaze.
- 1 tbsp Cornstarch: To thicken into a clear gel.
- 1 tsp Sugar: To adjust sweetness if needed.
Step-by-Step Instructions
- The Chiffon Base: Preheat your oven to 350°F (175°C). In a large bowl, whisk together cake flour, sugar, baking powder, and salt. Create a well and add the yolks, guava nectar, and oil. Mix until smooth.
- The Airy Lift: In a separate clean bowl, beat the egg whites until stiff peaks form. Gently fold the whites into the guava batter in three additions. Do not overmix, or you will lose the “Alice-approved” fluffiness!
- Bake the Minis: Divide the batter into a greased mini-cake pan or a muffin tin lined with liners. Bake for 15–18 minutes until a toothpick comes out clean. Cool completely on a wire rack.
- Whip the Frosting: Beat the cream cheese and butter until pale and fluffy. Gradually add powdered sugar and guava nectar. Beat on high for 2 minutes until it looks like clouds.
- The Guava Gel: In a small saucepan, whisk the guava nectar and cornstarch. Bring to a simmer over medium heat, stirring constantly until the mixture thickens and becomes translucent. Let it cool slightly (it should be pourable but not hot).
- Assembly: Pipe a ring of cream cheese frosting around the top edge of each mini cake, creating a “well” in the center.
- The Final Glaze: Spoon a small amount of the guava gel into the center of the frosting ring. Refrigerate for at least 1 hour to let the gel set before serving.
The Science: Why We Use Chiffon Sponge
A chiffon sponge is unique because it uses both chemical leaveners (baking powder) and mechanical leaveners (whipped egg whites). Additionally, the use of oil instead of butter ensures that the cake remains soft even when stored in the refrigerator. Since guava cake is traditionally served cold to keep the fruit flavors fresh and the frosting stable, a chiffon base is scientifically the best choice to prevent the cake from becoming hard or dense when chilled.
Pro Tips for the Perfect Pink Glaze
- Strain the Nectar: If your guava nectar has pulp, strain it through a fine-mesh sieve before making the gel to ensure a glass-like finish.
- The “Cooling” Window: Do not pour the gel while it’s hot, or it will melt your frosting. Wait until it’s lukewarm and slightly tacky to the touch.
- Vibrant Color: If your nectar is a pale pink, you can add a single drop of red gel food coloring to the gel mixture to achieve that iconic Hawaiian coral look.
Creative Variations
- Passion Fruit (Lilikoi) Twist: Swap the guava gel for a passion fruit curd for a tart “Lilikoi-Guava” hybrid.
- Coconut Crunch: Add ½ cup of shredded coconut to the batter or sprinkle toasted coconut over the frosting.
- Adult Version: Add a splash of white rum to the guava nectar when making the gel for a “Guava Mojito” inspired treat.
Storage Info
- To Store: These cakes must be refrigerated because of the cream cheese frosting. Keep in an airtight container for up to 3 days.
- To Freeze: You can freeze the unfrosted sponges for up to 2 months. I do not recommend freezing the fully assembled cakes as the guava gel can become watery upon thawing.
- Serving Temp: Take them out of the fridge about 15 minutes before serving to let the frosting soften slightly while keeping the gel cool.
Serving and Presentation Ideas
- Tea Party Style: Serve on a tiered lace-doily stand with fresh hibiscus flowers for a tropical aesthetic.
- Garnish: Top with a tiny slice of fresh guava or a single mint leaf to contrast the bright pink gel.
Frequently Asked Questions
Q: Can I use guava jam instead of nectar? A: For the gel, jam is too thick and opaque. Nectar provides that beautiful translucent look. However, you can use a tablespoon of jam in the frosting if you want extra “fruit bits.”
Q: My egg whites won’t reach stiff peaks. What’s wrong? A: Ensure your bowl and whisk are completely grease-free. Even a tiny speck of yolk or oil will prevent the whites from fluffing up.
Q: Where do I find guava nectar? A: Most grocery stores carry it in the international aisle or the canned juice section (look for brands like Kerns or Goya).
Lemon Posset
Equipment
- Medium saucepan
- Whisk
- Fine-mesh sieve
- Measuring cup
- ramekins
Ingredients
- 2 cups heavy whipping cream (36–40% fat)
- 2/3 cup granulated sugar
- 5 tbsp fresh lemon juice
Instructions
- In a medium saucepan, combine heavy cream and sugar. Heat over medium-high, stirring until sugar dissolves.
- Bring mixture to a full rolling boil, then reduce heat and simmer for exactly 5 minutes, stirring occasionally.
- Remove from heat and immediately whisk in fresh lemon juice until fully incorporated.
- Let mixture cool for 15 minutes, then strain through a fine mesh sieve into a measuring cup.
- Pour into ramekins or serving cups, filling about two-thirds full.
- Refrigerate for at least 2–4 hours until set. Serve chilled with optional garnishes.