This post may contain affiliate links. As an Amazon Associate, we earn from qualifying purchases. We only recommend products we trust.
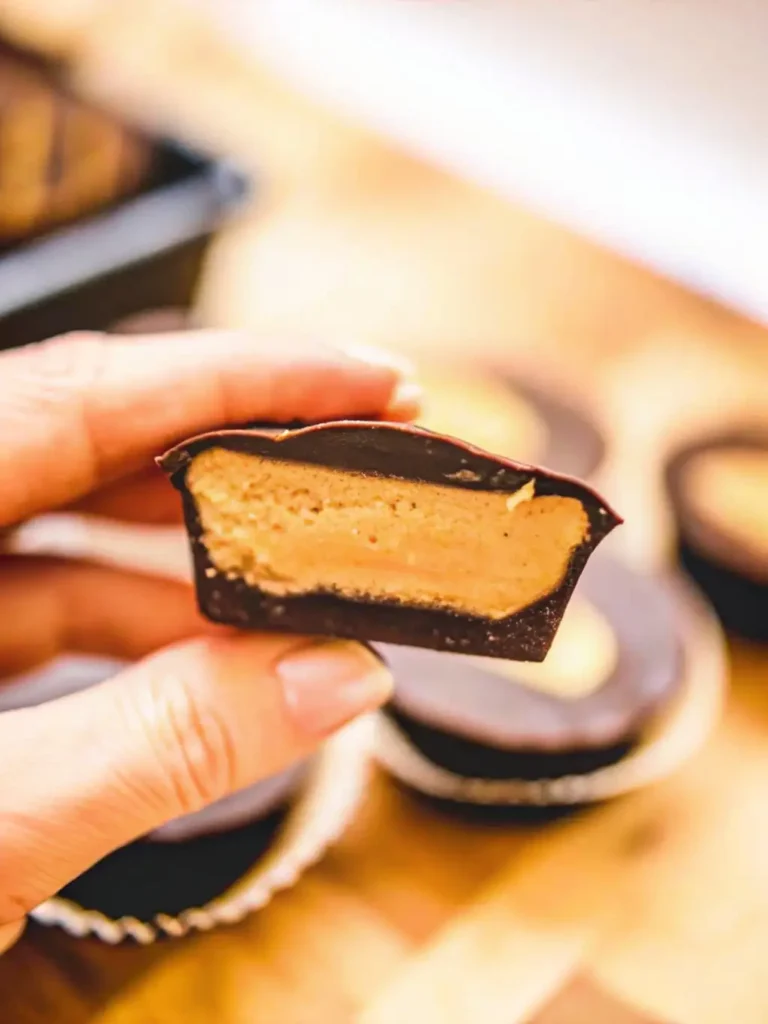
If you are looking for a treat that satisfies a serious candy craving with better ingredients than the store-bought version, these Homemade Chocolate Peanut Butter Cups are the ultimate solution. This recipe captures that iconic salty-sweet harmony we all love, combining a rich, snappy chocolate shell with a creamy, melt-in-your-mouth peanut butter center. They are incredibly easy to make, require zero baking, and use simple pantry staples you likely already have on hand.

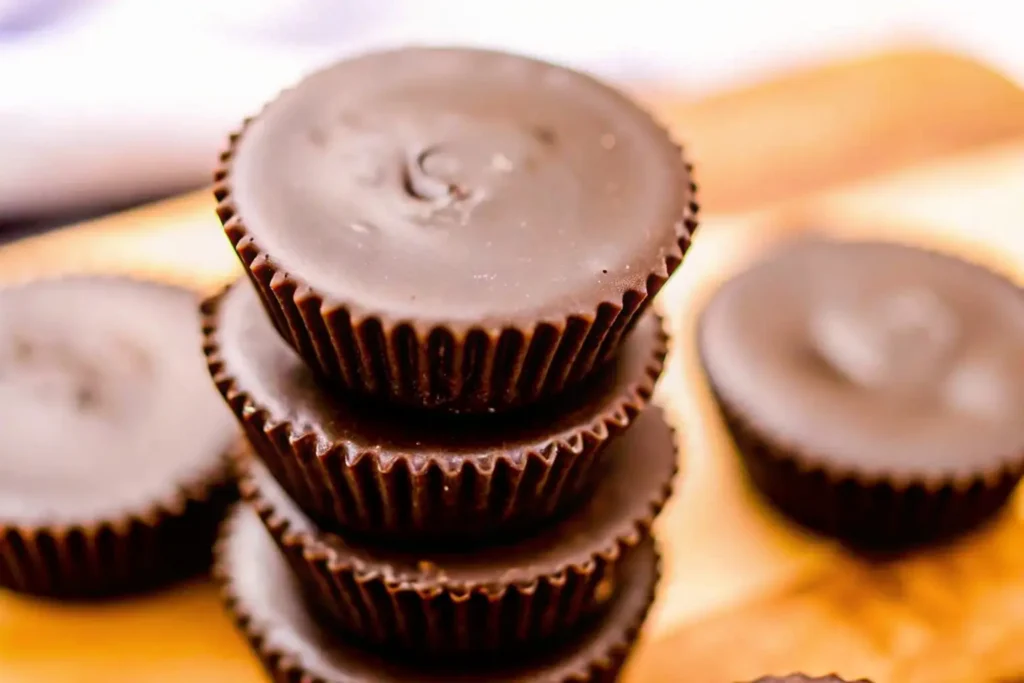
The beauty of these homemade peanut butter cups is the control you have over the ingredients. You can choose your favorite high-quality dark chocolate and adjust the sweetness of the filling to your liking. Whether you make them in a standard muffin tin or mini liners, they are a high-impact snack that keeps beautifully in the fridge or freezer for whenever a chocolate emergency strikes.
Table of Contents
Why You’ll Love This Recipe
- Better-Than-Store-Bought Flavor: No preservatives or artificial oils—just pure chocolate and peanut butter.
- No-Bake Ease: A perfect recipe for hot days or when you don’t want to turn on the oven.
- Easy Customization: Easily adaptable for vegan, dairy-free, or low-sugar lifestyles.
- The Perfect Texture: Achieves that professional “snap” in the chocolate with a velvety interior.
Ingredients
- 1 ½ cups High-Quality Chocolate Chips (Dark or Milk)
- 1 Tbsp Coconut Oil (helps the chocolate melt smoothly and snap)
- ½ cup Creamy Peanut Butter (natural or traditional)
- 2–3 Tbsp Maple Syrup or Powdered Sugar (adjust to taste)
- 1 Tbsp Coconut Flour or Almond Flour (optional, to thicken the center)
- A pinch of Sea Salt
Instructions
1. Prep Your Liners
Line a mini-muffin tin with paper liners. This recipe typically makes 10–12 mini cups or 6 standard-sized cups.
2. Melt the Chocolate Base
In a microwave-safe bowl, combine the chocolate chips and coconut oil. Microwave in 30-second intervals, stirring in between, until completely smooth. Drop about 1–2 teaspoons of chocolate into the bottom of each liner. Use a small spoon to push the chocolate slightly up the sides. Place in the freezer for 5–10 minutes to set.
3. Mix the Peanut Butter Filling
In a small bowl, stir together the peanut butter, maple syrup (or powdered sugar), salt, and optional flour until a thick paste forms.
4. Add the Center
Remove the tray from the freezer. Place a small dollop (about 1 teaspoon) of the peanut butter mixture into the center of each chocolate base. Gently press it down so it’s flat.
5. Top and Seal
Spoon the remaining melted chocolate over the peanut butter centers, ensuring they are completely covered. Tap the tray on the counter a few times to smooth out the tops.
6. Chill and Set
Return the tray to the freezer for 15–20 minutes or the refrigerator for 30 minutes until the chocolate is firm. Peel off the liners and enjoy!
Expert Tips for Success
- The Coconut Oil Secret: Adding a small amount of coconut oil to the chocolate makes it easier to bite into and gives it a professional, glossy sheen.
- Natural Peanut Butter Tip: If using very runny, natural peanut butter, adding a tablespoon of coconut or almond flour helps thicken it so the center stays put and doesn’t leak.
- Smooth the Tops: To get that perfectly flat, professional look, gently tap the muffin tin on the counter several times after the final chocolate layer is added to release air bubbles.
- Store Cold: Because these don’t contain stabilizers, they are best kept in the refrigerator or freezer to maintain that perfect “snap.”
Variations
- Dark Chocolate Sea Salt: Use 70% dark chocolate and top with a few flakes of Maldon sea salt before the top layer sets.
- Almond Butter Cups: Swap the peanut butter for almond or cashew butter for a different nutty profile.
- Crunchy Version: Use crunchy peanut butter or add a sprinkle of crushed pretzels into the filling for extra texture.
- Keto-Friendly: Use sugar-free chocolate chips and a touch of stevia or monk fruit in the peanut butter center.
FAQ: Homemade Chocolate Peanut Butter Cups
Q: Can I make these vegan? A: Absolutely. Simply use dairy-free chocolate chips and maple syrup as your sweetener.
Q: Why is my chocolate blooming (turning white)? A: This usually happens if the chocolate is overheated or stored in a place with fluctuating temperatures. It’s still safe to eat, but keeping them in the fridge prevents this!
Q: How do I store these? A: Store in an airtight container in the refrigerator for up to 2 weeks or in the freezer for up to 3 months.
Q: Can I use honey instead of maple syrup? A: Yes, though honey has a stronger flavor that will be more noticeable in the peanut butter center.

Homemade Chocolate Peanut Butter Cups
Equipment
- Mini muffin tin
- paper liners
- Microwave-safe bowl
- Spoon or Spatula
Ingredients
- 1 1/2 cups chocolate chips (dark or milk)
- 1 Tbsp coconut oil
- 1/2 cup creamy peanut butter
- 2–3 Tbsp maple syrup or powdered sugar
- 1 Tbsp coconut flour or almond flour (optional)
- 1 pinch sea salt
Instructions
- Line a mini muffin tin with paper liners. This recipe yields about 10–12 mini cups or 6 standard cups.
- Combine chocolate chips and coconut oil in a microwave-safe bowl. Microwave in 30-second intervals, stirring between each, until smooth. Spoon 1–2 teaspoons of chocolate into each liner and spread slightly up the sides. Freeze for 5–10 minutes until set.
- Stir together peanut butter, maple syrup (or powdered sugar), sea salt, and optional flour until a thick, smooth paste forms.
- Place about 1 teaspoon of peanut butter mixture onto each chilled chocolate base. Gently press to flatten slightly.
- Spoon remaining melted chocolate over the peanut butter centers, covering completely. Tap the pan gently on the counter to smooth the tops.
- Freeze for 15–20 minutes or refrigerate for 30 minutes until firm. Peel off liners and enjoy.