This post may contain affiliate links. As an Amazon Associate, we earn from qualifying purchases. We only recommend products we trust.
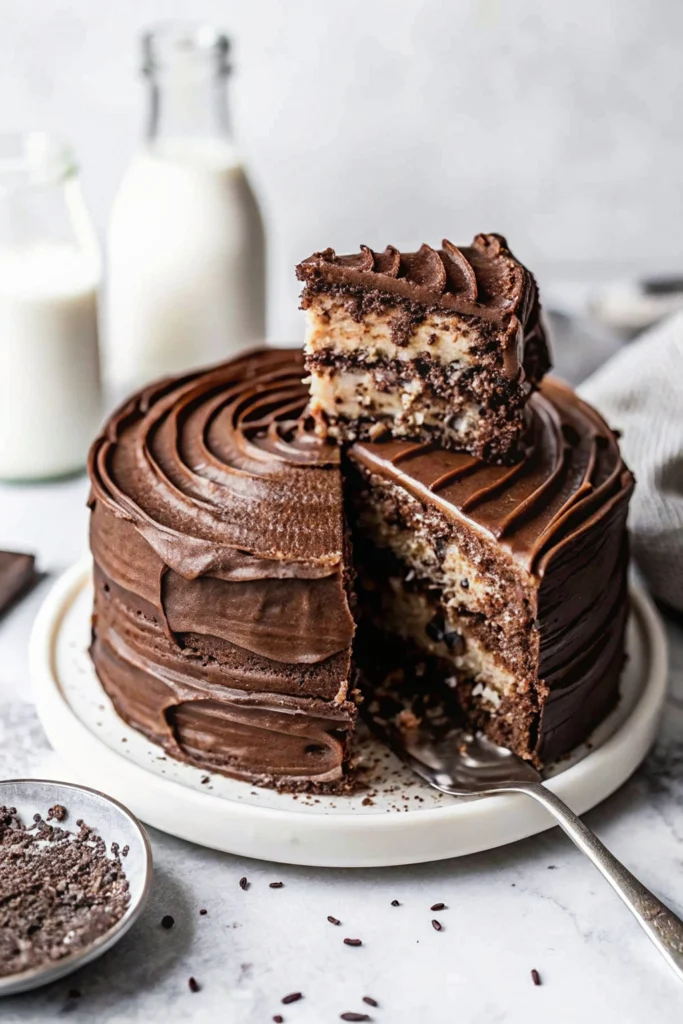
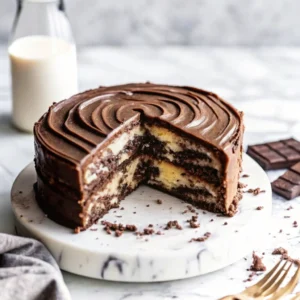
If you’ve ever found yourself torn between the deep richness of chocolate and the classic comfort of vanilla, this Homemade Marble Cake from Eats Delightful is the ultimate solution. This isn’t just a basic swirled cake; it’s a masterclass in moisture balance. By using a clever combination of butter and oil, we achieve a cake that has the rich, nostalgic flavor of traditional bakery treats but remains incredibly soft and spongy for days. Topped with a cloud-like chocolate buttercream, it’s a “bistro-style” dessert that looks as impressive as it tastes.
As a former chef, I’ve always appreciated the science of acidity in baking. The secret to this “Alice-approved” marble cake is the homemade buttermilk. By curdling whole milk with a touch of vinegar, we create a tenderizing agent that breaks down the gluten in the flour, resulting in a fine, “melt-in-your-mouth” crumb. Whether you’re celebrating a birthday or looking for the perfect weekend project, this 2-layer cake is a guaranteed showstopper that proves you truly can have the best of both worlds.
Table of Contents
Why You’ll Love This Marble Cake
- Dual Flavor Profile: The perfect harmony of aromatic vanilla and decadent cocoa in every slice.
- Superior Texture: A blend of fats (butter and oil) ensures a moist, tender crumb that doesn’t dry out.
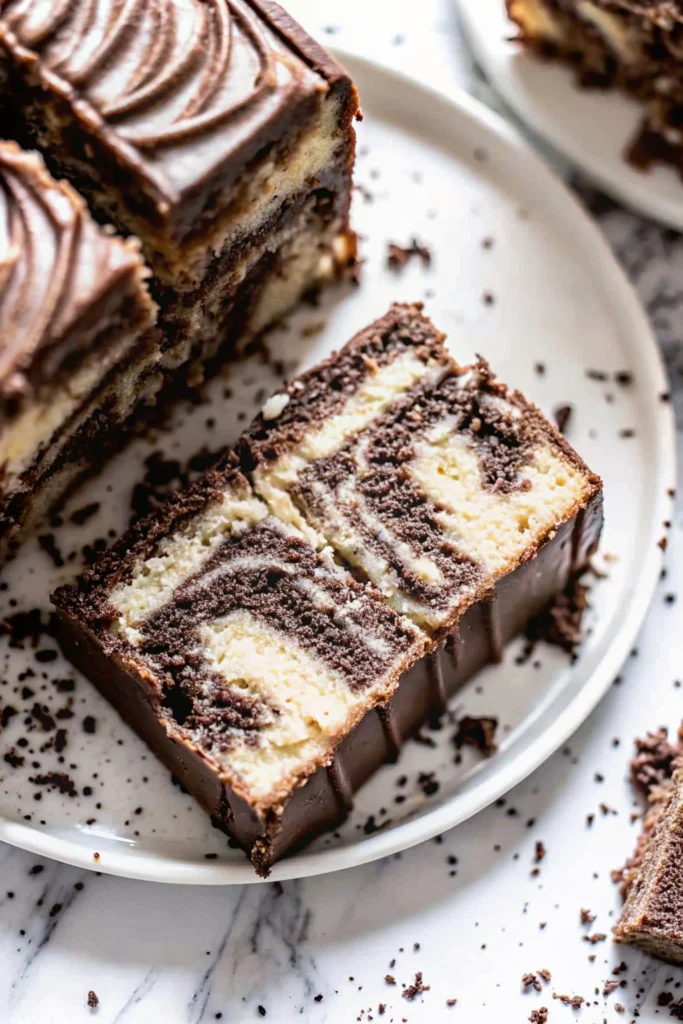
- Stunning Visuals: The alternating “blob and swirl” technique creates professional, bakery-grade marble patterns.
- Easy Customization: Can be adapted into a sheet cake, cupcakes, or a 3-layer 6-inch cake.
- Rich Buttercream: The airy chocolate frosting is whipped to perfection, providing a silky contrast to the cake layers.
What is Marble Cake?
Marble cake is a classic confectionery art form that dates back to the 19th century. It traditionally consists of two distinct cake batters—one vanilla and one chocolate—that are swirled together just enough to create a variegated pattern without fully blending the colors.
The “Eats Delightful” version elevates this concept by using a single base batter. A portion is set aside and transformed with cocoa powder, ensuring that both flavors have the same consistent, high-quality texture. It’s an elegant, nostalgic dessert that bridges the gap between a casual afternoon tea snack and a sophisticated celebration centerpiece.
Ingredients List
For the Vanilla Cake Base:
- 2 ½ cups (325g) All-Purpose Flour: Spooned and leveled for accuracy.
- 2 tbsp Cornstarch: The secret to an extra-light, “Alice-approved” crumb.
- 2 tsp Baking Powder & ½ tsp Baking Soda: For the perfect airy lift.
- 1 ½ cups (360mL) Whole Milk & 1 ½ tbsp White Vinegar: To create homemade buttermilk.
- ½ cup (115g) Unsalted Butter: Room temperature for easy creaming.
- ⅓ cup (80mL) Vegetable Oil: For long-lasting moisture.
- 1 ½ cups (300g) Granulated Sugar: To sweeten.
- 3 Large Eggs: Room temperature.
- 2 tsp Pure Vanilla Extract: For a rich, floral aroma.
For the Chocolate Marble:
- ¼ cup (20g) Unsweetened Cocoa Powder: For that deep chocolate flavor.
- 1 tsp Black Cocoa Powder (Optional): To naturally darken the swirls.
- 5 tbsp Whole Milk: To ensure the chocolate batter stays as fluid as the vanilla.
For the Chocolate Buttercream:
- 1 ½ cups (340g) Unsalted Butter: Softened.
- 4 cups (520g) Powdered Sugar: Sifted to avoid clumps.
- 1 cup (80g) Unsweetened Cocoa Powder: Sifted for smoothness.
- 3-4 tbsp Milk & 1 tsp Vanilla: To reach a fluffy consistency.
Step-by-Step Instructions
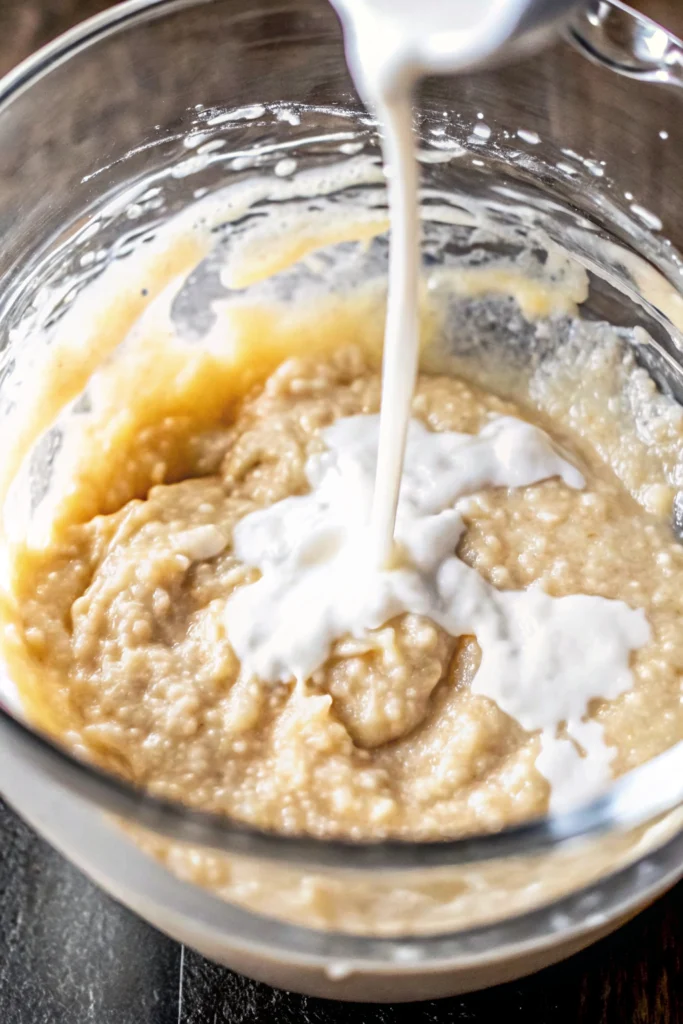
- The Tangy Prep: Preheat your oven to 350°F (175°C). In a measuring cup, whisk together the milk and vinegar. Let it sit for 5 minutes until it curdles into buttermilk.
- Creaming the Fats: In a large bowl, cream together the butter, oil, and sugar until smooth and lump-free. Whisk in the eggs one at a time, followed by the vanilla.
- The Alternating Fold: Whisk the dry ingredients together. Gradually add them to the butter mixture, alternating with the homemade buttermilk. Start and end with the dry ingredients to prevent overmixing.
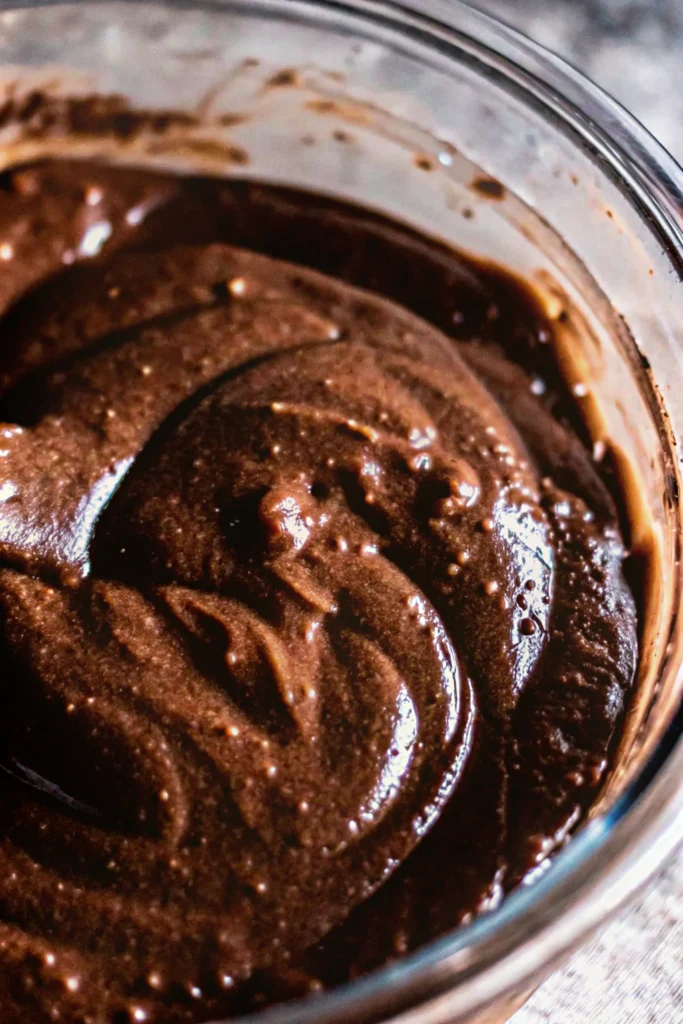
- The Chocolate Transformation: In a separate bowl, whisk the cocoa powders and 5 tbsp of milk into a smooth paste. Fold about half of the vanilla batter into this paste until you have a rich chocolate batter.
- The “Chess Board” Method: Drop alternating scoops of vanilla and chocolate batter into two greased 8-inch pans. Use a skewer or butter knife to swirl the batters together in a “Z” or figure-eight pattern. Pro Tip: Don’t over-swirl, or you’ll lose the distinct “marble” look!
- The Bake: Bake for 30–35 minutes. Cool in the pans for 10 minutes before transferring to a wire rack to cool completely.
- Whip the Frosting: Beat the butter and powdered sugar on low. Add the cocoa, milk, and vanilla, then crank the speed to high and whip for 1 minute until fluffy and cloud-like.
- Decorate: Frost the center and outside of the cooled cakes. Slice and enjoy the beautiful interior patterns!
The Science: Why Cornstarch is a Secret
This recipe uses cornstarch to act as a makeshift cake flour. Cornstarch is gluten-free and absorbs more liquid per tablespoon than all-purpose flour. By adding it to the mix, you effectively lower the protein content of your flour blend. This inhibits excess gluten development, which is what often makes homemade cakes feel tough or “bready.” The result is a sponge that is light, airy, and professional-grade.
Expert Baking Tips
- Temperature Control: Ensure your eggs, milk, and butter are all at room temperature. Cold ingredients won’t emulsify properly, leading to a curdled batter and an uneven bake.
- Sift Everything: Especially for the frosting! Cocoa powder is notoriously clumpy. Sifting ensures your “Alice-approved” buttercream is silky and professional.
- The “10-Minute” Rule: Don’t let the cakes cool completely in the pans. Removing them after exactly 10 minutes allows the sugars to set so the cake holds its shape, but prevents the moisture from being “trapped,” which can make the bottom soggy.
Creative Variations
- Mocha Marble: Add a teaspoon of espresso powder to the chocolate batter to intensify the cocoa notes.
- The Sheet Cake: Bake the entire batter in a 9×13 pan for 30–35 minutes for a casual, potluck-style treat.
- Black & White: Use black cocoa powder exclusively in the chocolate section for an ultra-high-contrast “Oreo” style look.
Storage Info
- To Store: Keep at room temperature in an airtight container for up to 3 days, or in the refrigerator for up to 5 days.
- To Freeze: You can freeze the unfrosted cake layers for up to 3 months. Thaw overnight in the fridge before frosting.
- Reheating: A 10-second zap in the microwave will bring back that “fresh-from-the-oven” softness to a single slice.
Serving and Presentation Ideas
- Bistro Style: Serve on a clean white plate with a side of fresh raspberries to contrast the rich chocolate.
- The “Alice” Finish: Use a bench scraper to create a “naked cake” look, allowing the marbled crumb to peek through the frosting slightly.
Frequently Asked Questions
Q: Can I use store-bought buttermilk? A: Absolutely. Use 1 ½ cups of store-bought buttermilk and omit the milk and vinegar in step 1.
Q: My cake sank in the middle! What happened? A: This is usually caused by overmixing the batter once the flour is added. Overmixing creates too much air that collapses in the heat of the oven. Mix only until the white streaks disappear!
Q: Can I use all butter instead of butter and oil? A: You can, but the oil is what keeps the cake moist for days. An all-butter cake will taste delicious but will go stale much faster.
Chocolate Vanilla Marble Cake
Equipment
- Two 8-inch round cake pans
- electric hand mixer or stand mixer
- sieve for sifting
- skewer or butter knife for marble swirl
Ingredients
- 325 g all-purpose flour
- 2 tbsp cornstarch
- 2 tsp baking powder
- 1/2 tsp baking soda
- 1 1/2 cups milk
- 1 1/2 tbsp white vinegar
- 1/2 cup butter
- 1/3 cup vegetable oil
- 1 1/2 cups sugar
- 3 eggs
- 2 tsp vanilla extract
- 1/4 cup cocoa powder
- 1 tsp black cocoa (optional)
- 5 tbsp milk
- 1 1/2 cups butter
- 4 cups powdered sugar
- 1 cup cocoa powder
- 3-4 tbsp milk
Instructions
- Mix the milk and white vinegar together and let sit for 5 minutes to create homemade buttermilk. Preheat oven to 350°F (175°C).
- Beat butter, vegetable oil, and sugar until light. Add eggs and vanilla extract, mixing until smooth.
- Alternate adding the dry ingredients and buttermilk into the butter mixture until a smooth vanilla batter forms.
- Whisk cocoa powder, optional black cocoa, and milk together. Fold this mixture into half of the vanilla batter to make the chocolate batter.
- Drop alternating spoonfuls of vanilla and chocolate batter into the prepared cake pans. Use a skewer or butter knife to swirl lightly.
- Bake for 30–35 minutes until a toothpick comes out clean. Cool 10 minutes in pans, then transfer to a rack.
- Whip butter, powdered sugar, cocoa powder, and milk until fluffy. Frost the completely cooled cake layers.