
This post may contain affiliate links. As an Amazon Associate, we earn from qualifying purchases. We only recommend products we trust.
Lemon–Ginger Chili Sunshine Jam
Have you ever craved a burst of bright flavors that could elevate your breakfast and transform your simple toast into something extraordinary? If so, then you’re going to love this Lemon–Ginger Chili Sunshine Jam! This jam isn’t just your average spread; it combines zesty lemons with the warmth of ginger and a hint of chili, creating a delightful balance of sweet and spicy that can bring your taste buds to life. What makes this recipe truly unique is how easily it can be made at home, so you’ll never need to settle for store-bought again. Here’s everything you need to know to make it tonight. You may also find Best Classic Beef Chili Recipe useful.
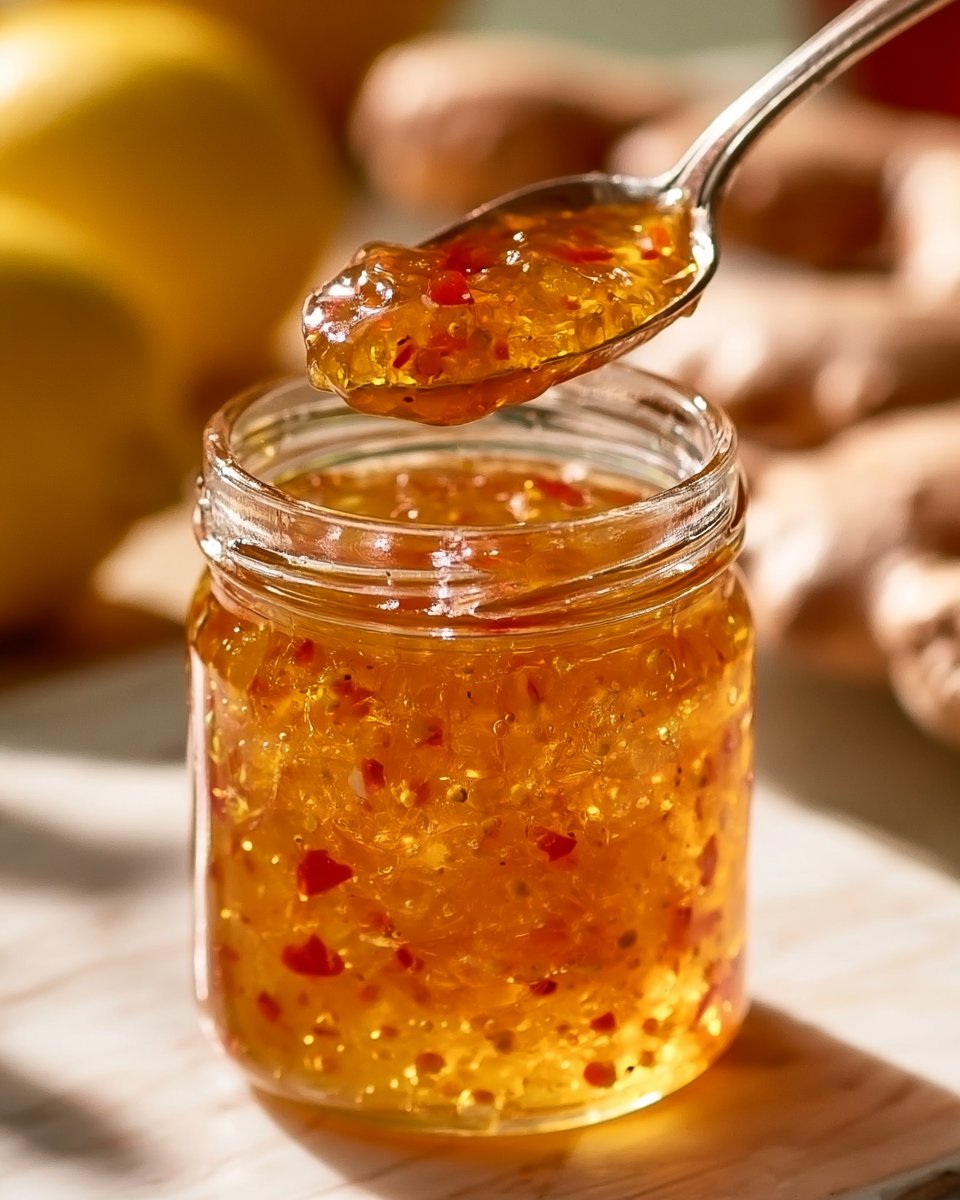
Why You’ll Love This Recipe
- Bright, zesty flavor that dances on your palate.
- Perfect balance of sweetness and spice with each spoonful.
- Easy to make using just a few simple ingredients that you likely already have on hand.
- Versatile enough to pair with meats, cheeses, or simply slathered on crusty bread.
- Impressive yet simple — your family and friends will think you’ve spent hours in the kitchen!
- Great as a gift for loved ones who appreciate homemade treats.
Ingredients
For the Jam
- 3 large lemons, zested and juiced (Choose firm, fragrant lemons)
- 1.5 cups granulated sugar (Regular sugar gives a clear set)
- 0.5 cups water (Start with room-temperature water)
- 1 tablespoon apple cider vinegar (Balances sweetness neatly)
- Pinch salt (Enhances brightness)
- 2 tablespoons fresh ginger, finely grated (Peel young ginger thinly)
- 1 small red chili, finely minced (Remove seeds for less heat)
- 0.5 teaspoon turmeric (Optional, adds color and warm flavor)
Step-by-Step Instructions
-
Preparation: Start by washing the lemons thoroughly. Zest them using a microplane and then juice them, ensuring you have a full cup of lemon juice. You may also find Best Copycat Texas Roadhouse Chili useful.
-
Combine Ingredients: In a medium saucepan, combine the lemon zest, lemon juice, granulated sugar, water, apple cider vinegar, salt, ginger, chili, and turmeric if you’re using it. Stir the mixture gently until the sugar begins to dissolve.
-
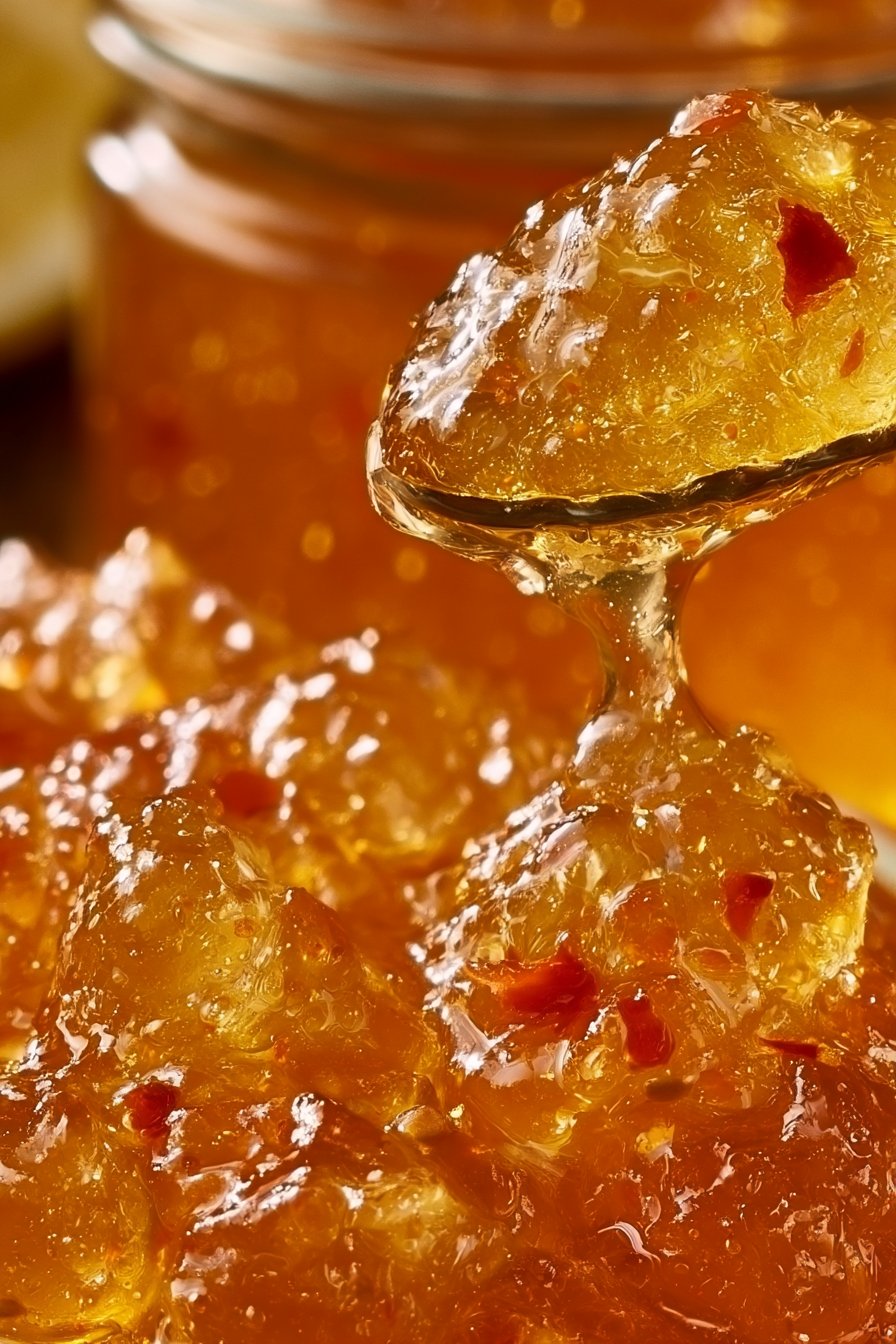
Cook the Jam: Place your saucepan over medium heat and bring the mixture to a gentle boil. Keep stirring occasionally to prevent sticking. Allow it to boil for about 10-15 minutes or until it thickens; you’ll notice it coats the back of a spoon.
-
Jarring the Jam: To check if the jam is set, place a spoonful on a chilled plate and let it sit for a minute. Run your finger through it; if it holds its shape, it’s ready to jar. If not, keep cooking for a few more minutes and retest.
-
Store the Jam: Once thickened, carefully pour the hot jam into sterilized jars. Pop on the lids while the jam is still hot, allowing it to seal as it cools.
Pro Tips & Variations
- Best Results: Use fresh, ripe lemons for the best flavor, and don’t skip the salt; it really enhances the jam’s bright flavors.
- Add More Spice: For an extra kick, add additional chili or even some finely diced jalapeño.
- Sweetness Variation: If you prefer a lower sugar option, you can try using a sugar substitute that sets well in jam.
- Different Flavors: Substitute the ginger with fresh mint for a refreshing twist in warmer months.
Storage & Reheating
Store your Lemon–Ginger Chili Sunshine Jam in the refrigerator, where it will keep for up to three weeks. For longer preservation, you can freeze the jam in airtight containers for up to six months. There’s no need to reheat; simply enjoy it cold on your favorite dishes directly from the fridge!
FAQ
- Can I use chicken thighs instead of breasts? Yes, chicken thighs would be juicy and flavorful with the jam.
- Can I make this ahead? Absolutely! This jam can be made days in advance and stored in the fridge.
- What can I serve with this? Try it with grilled meats, on cheese boards, or as a spread for sandwiches.
- How do I ensure my jam sets properly? Make sure to boil it long enough and test for thickness before jarring.
- Can I add more chili for heat? Definitely! Adjust to your heat preference.
Conclusion
Making your own Lemon–Ginger Chili Sunshine Jam is not only satisfying but also a fantastic way to bring vibrant flavors to your meals. This spread can brighten up breakfast or be an exciting addition to your charcuterie board. If you’re interested in trying more unique jam recipes, check out Chilli, Ginger And Lemon Rind Jam – Ramona’s Cuisine or discover different flavors like Lemon Jelly with Chilli and Ginger – Forays into Food. Don’t forget to leave a comment or rate this recipe. Your family will love the delightful tanginess of this Lemon–Ginger Chili Sunshine Jam!
Lemon–Ginger Chili Sunshine Jam
Ingredients
For the Jam
- 3 large lemons, zested and juiced Choose firm, fragrant lemons
- 1.5 cups granulated sugar Regular sugar gives a clear set
- 0.5 cups water Start with room-temperature water
- 1 tablespoon apple cider vinegar Balances sweetness neatly
- 1 pinch salt Enhances brightness
- 2 tablespoons fresh ginger, finely grated Peel young ginger thinly
- 1 small red chili, finely minced Remove seeds for less heat
- 0.5 teaspoon turmeric Optional, adds color and warm flavor
Instructions
Preparation
- Start by washing the lemons thoroughly. Zest them using a microplane and then juice them, ensuring you have a full cup of lemon juice.
Combine Ingredients
- In a medium saucepan, combine the lemon zest, lemon juice, granulated sugar, water, apple cider vinegar, salt, ginger, chili, and turmeric if you’re using it. Stir the mixture gently until the sugar begins to dissolve.
Cook the Jam
- Place your saucepan over medium heat and bring the mixture to a gentle boil. Keep stirring occasionally to prevent sticking. Allow it to boil for about 10-15 minutes or until it thickens; you’ll notice it coats the back of a spoon.
Jarring the Jam
- To check if the jam is set, place a spoonful on a chilled plate and let it sit for a minute. Run your finger through it; if it holds its shape, it’s ready to jar. If not, keep cooking for a few more minutes and retest.
Store the Jam
- Once thickened, carefully pour the hot jam into sterilized jars. Pop on the lids while the jam is still hot, allowing it to seal as it cools.