This post may contain affiliate links. As an Amazon Associate, we earn from qualifying purchases. We only recommend products we trust.
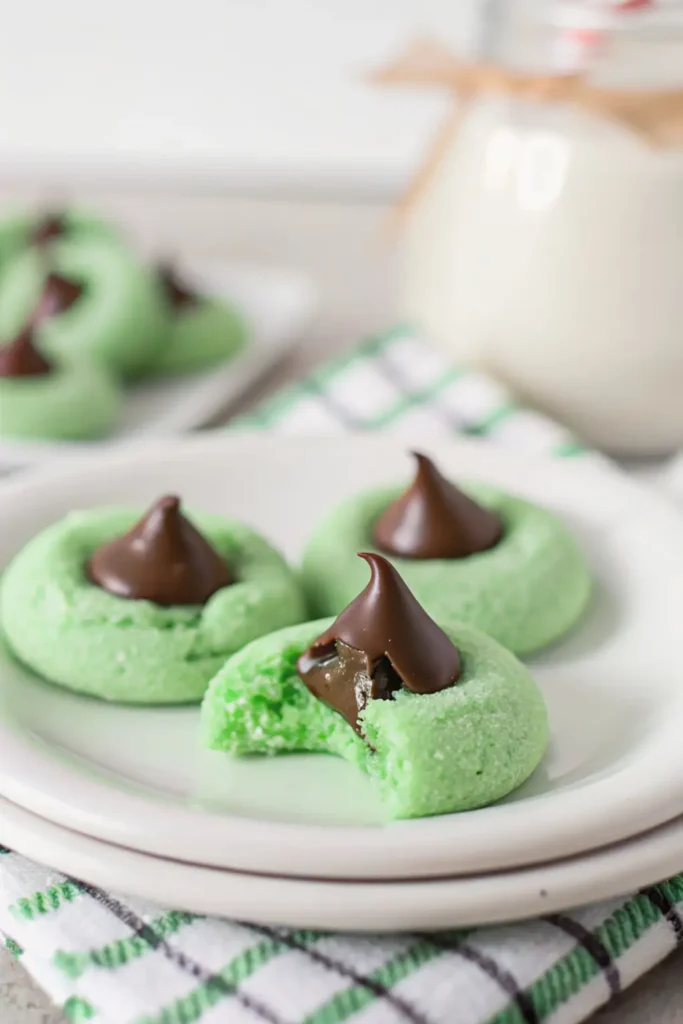
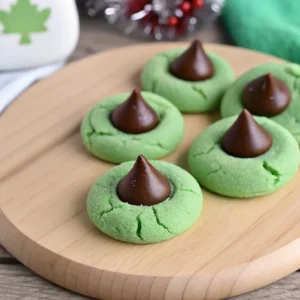
If you are looking for a dessert that is as beautiful as it is delicious, these Mint Chocolate Kiss Blossom Cookies are the perfect festive find. This recipe takes the classic “blossom” cookie concept and gives it a vibrant holiday makeover. With a soft, buttery, and minty green base that melts in your mouth, topped with a classic chocolate kiss, these are the ultimate St. Patrick’s Day cookies.
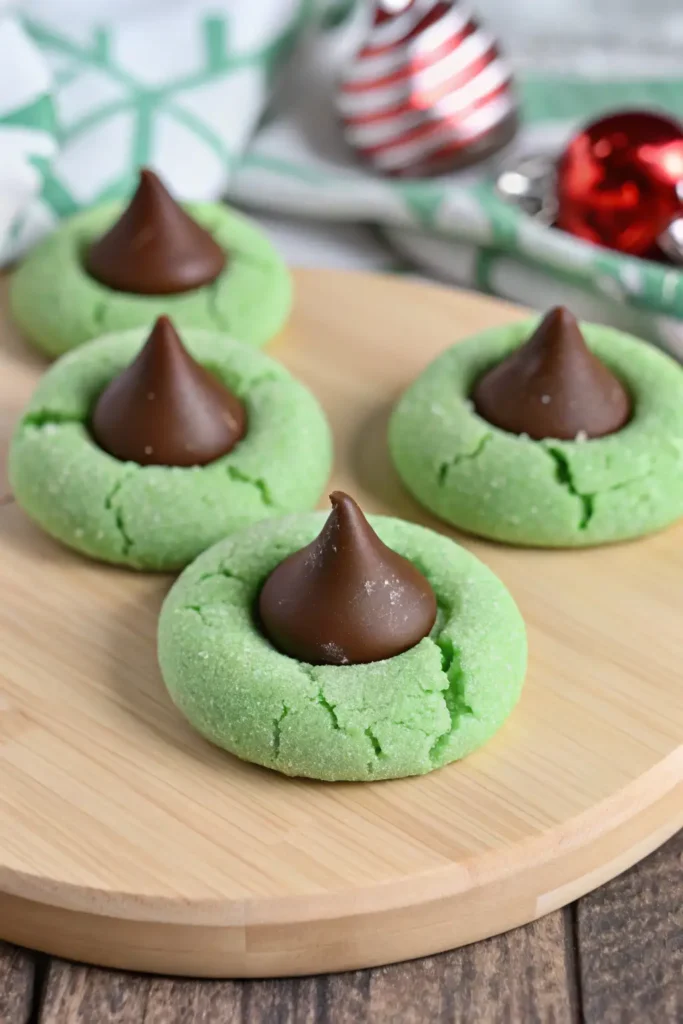
What makes these mint blossom cookies unique is their texture. Unlike some blossom cookies that can be dry or crumbly, these have a higher butter content and use powdered sugar in the dough, resulting in a “shortbread-meets-sugar-cookie” consistency. They are bright, festive, and require no rolling or chilling, making them a quick and easy win for your holiday baking list.
Table of Contents
Why You’ll Love These Blossom Cookies
- Melt-in-Your-Mouth: The use of powdered sugar and real butter creates an incredibly tender crumb.
- No Chill Time: Go from mixing to baking in minutes—perfect for last-minute treats.
- Vibrant & Festive: The minty green color and chocolate center look like a “pot of gold” on any dessert tray.
- Kid-Friendly: Children love unwrapping the kisses and pressing them into the warm cookies.
Ingredients
- 10 Tbsp Unsalted Butter, room temperature
- 1 cup Powdered Sugar
- 1 Large Egg + 1 Egg Yolk
- 1 tsp Peppermint Extract (use less for a milder flavor)
- 6–12 drops Green Food Coloring (Gel is best)
- 2 cups All-purpose Flour
- ¾ tsp Baking Powder
- ¼ tsp Kosher Salt
- 24 Hershey’s Chocolate Kisses, unwrapped
Instructions
1. Prep and Cream
Preheat your oven to 350°F (175°C). Line a baking sheet with parchment paper or a silicone mat. In a large bowl, cream together the softened butter and powdered sugar until light and fluffy.
2. Add the Liquids and Color
Beat in the egg, egg yolk, and peppermint extract. Start adding the green food coloring a few drops at a time, mixing until you reach your desired “minty” green shade.
3. Mix in Dry Ingredients
Add the flour, baking powder, and salt. Mix on low speed until just combined. The dough should be soft but manageable.
4. Scoop and Bake
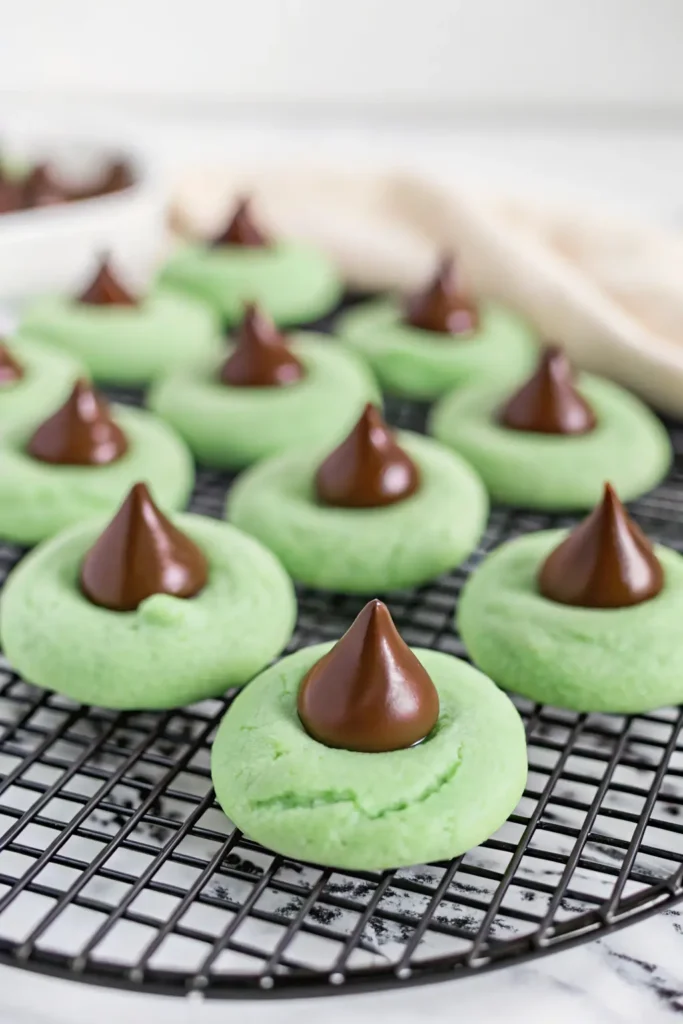
Roll the dough into 1-inch balls (about 1 tablespoon of dough per cookie). If desired, roll the balls in granulated sugar for a sparkly finish. Place 2 inches apart on the baking sheet and bake for 7–9 minutes. Do not overbake; they should be set but not brown.
5. Add the “Blossom”
Remove the cookies from the oven and let them sit for 1–2 minutes. Gently press a chocolate kiss into the center of each cookie. The heat will soften the kiss just enough to stick without melting it completely.
6. Cool
Transfer to a wire rack and cool completely. The chocolate will take some time to re-solidify, so avoid stacking them too soon!
Expert Tips for Success
- Butter is King: Always use real butter for this recipe. Margarine or oil substitutes will change the “melt-in-your-mouth” texture significantly.
- Temperature Control: Adding the kiss too soon will cause it to melt into a puddle. Waiting too long will cause the cookie to crack. That 1–2 minute wait is the “sweet spot.”
- Don’t Overbake: These cookies are meant to be pale and soft. If the bottoms start to brown, they will be dry rather than tender.
- Freeze the Kisses: If your kitchen is very warm, pop your unwrapped kisses in the freezer for 15 minutes before baking to help them hold their shape better.
For the ultimate collection of festive, top-rated holiday bakes, don’t miss our master guide to THE BEST 20 ST PATRICK’S DAY DESSERTS & TREATS IDEAS!
Variations
- Peppermint Crunch: Use Hershey’s “Candy Cane” kisses for an extra burst of peppermint and a fun red-and-white contrast.
- Chocolate Mint Base: Add 2 tablespoons of cocoa powder to the dough for a dark chocolate mint cookie base.
- Sparkle Blossoms: Roll the dough in green or gold sanding sugar before baking for a “Pot of Gold” look.
- Andes Mint Topper: Swap the chocolate kiss for a single Andes mint for a rectangular “blossom” twist.
FAQ: Mint Chocolate Kiss Blossom Cookies
Q: Can I use peppermint oil instead of extract? A: Yes, but peppermint oil is significantly stronger than extract. Use only 1–2 drops to start.
Q: Why did my cookies crack? A: This usually happens if the cookies are overbaked or if the kiss was pressed in too late after the cookie had already firmed up.
Q: How do I store these? A: Store in an airtight container at room temperature for up to 5 days. These cookies stay remarkably soft due to the powdered sugar in the dough.
Q: Can I make these without food coloring? A: Absolutely. They will be a natural creamy color but will still have that delicious mint chocolate flavor.
Mint Chocolate Kiss Blossom Cookies
Equipment
- Mixing bowls
- Electric mixer
- Baking sheet
- Parchment paper
Ingredients
- 10 Tbsp unsalted butter, room temperature
- 1 cup powdered sugar
- 1 large egg
- 1 large egg yolk
- 1 tsp peppermint extract
- 6–12 drops green gel food coloring
- 2 cups all-purpose flour
- 3/4 tsp baking powder
- 1/4 tsp kosher salt
- 24 Hershey’s chocolate kisses, unwrapped
Instructions
- Preheat oven to 350°F (175°C). Line a baking sheet with parchment paper. Cream the butter and powdered sugar until light and fluffy.
- Add the egg, egg yolk, peppermint extract, and green food coloring. Mix until smooth and evenly colored.
- Add flour, baking powder, and salt. Mix on low speed until just combined and a soft dough forms.
- Roll dough into 1-inch balls and place 2 inches apart on baking sheet. Bake for 7–9 minutes until set but not browned.
- Let cookies rest for 1–2 minutes, then gently press a chocolate kiss into the center of each cookie.
- Transfer cookies to a wire rack and allow to cool completely before serving or storing.