This post may contain affiliate links. As an Amazon Associate, we earn from qualifying purchases. We only recommend products we trust.
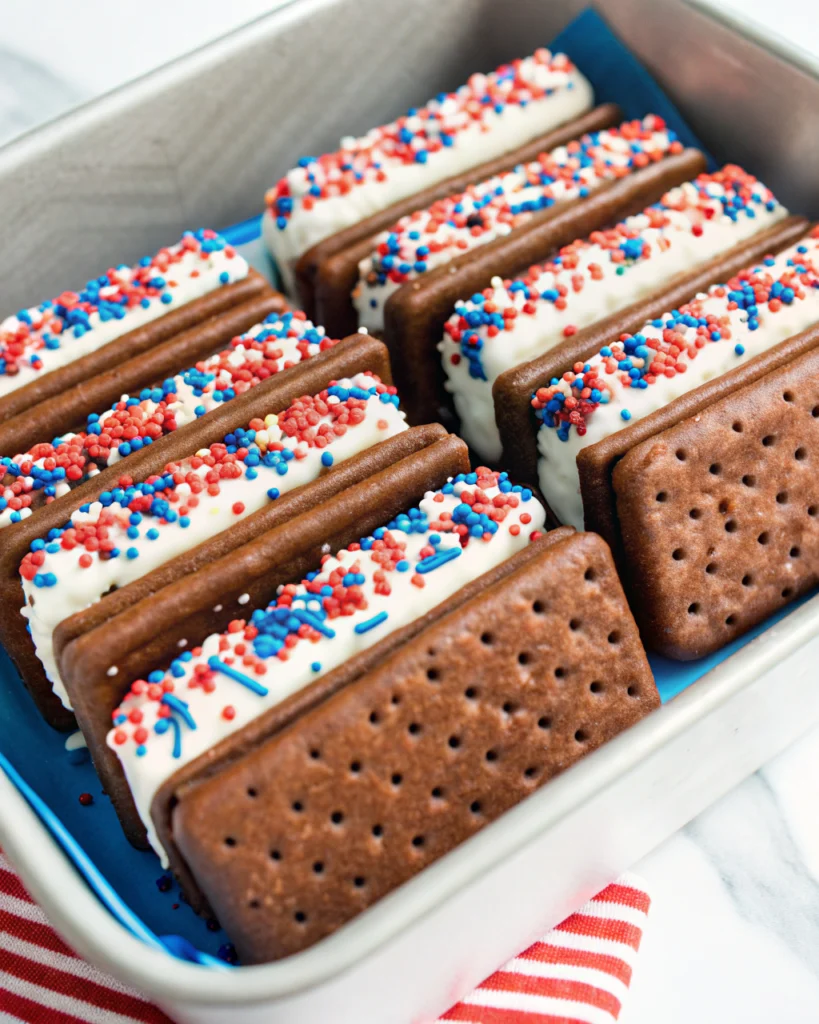
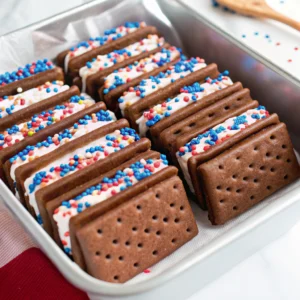
If you’re looking for a dessert that screams summer fun without keeping you in the kitchen for hours, these Patriotic Mini Ice Cream Sandwiches are your new go-to. This isn’t just a snack; it’s a bite-sized celebration of red, white, and blue. By taking classic soft-baked chocolate cookies and sandwiching them with creamy vanilla ice cream and festive sprinkles, we create a treat that is as nostalgic as a childhood summer but as polished as a gourmet party platter.
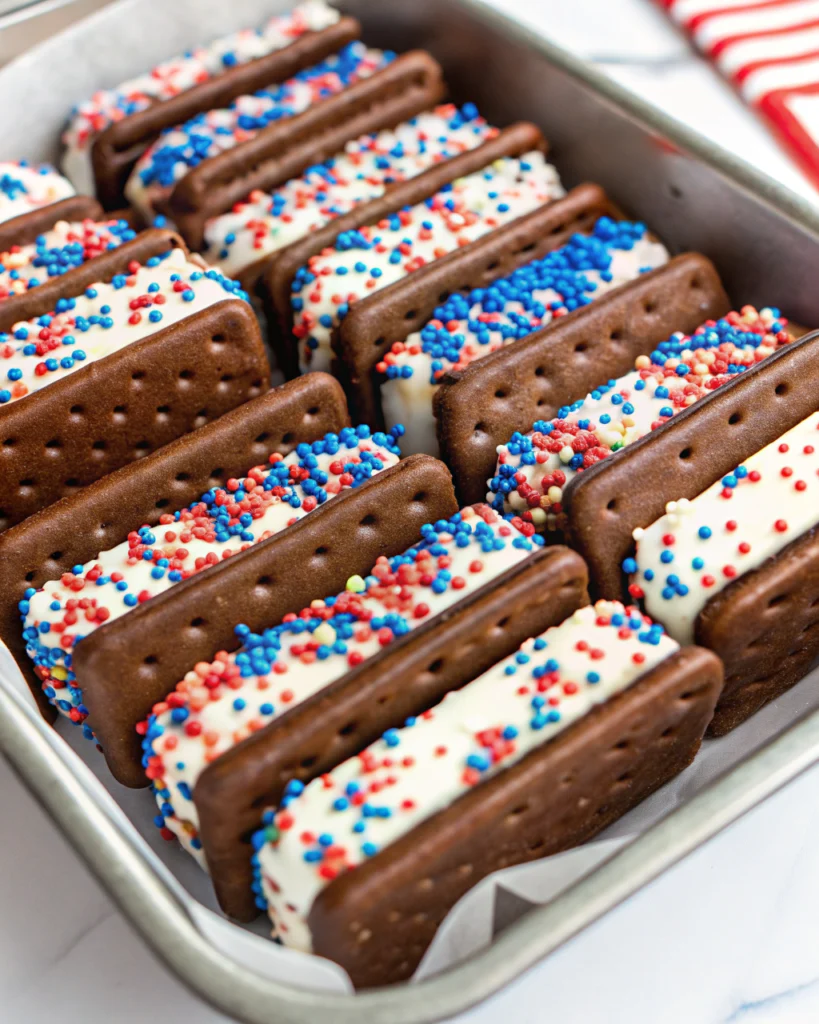
As a former chef, I’ve always appreciated the “mini” dessert. They are easier to serve, less messy to eat at an outdoor cookout, and allow you to play with colorful garnishes like star-shaped sprinkles. The secret here is the freeze-ahead method. By prepping these a day early, the cookies soften slightly against the ice cream, creating that perfect “chewy” texture that defines a world-class ice cream sandwich. Whether it’s the 4th of July or a simple backyard BBQ, these little sandwiches are guaranteed to be the first thing to disappear!
Table of Contents
Why You’ll Love These Mini Sandwiches
- Bite-Sized Portions: Perfect for parties where guests want to sample multiple treats.
- Kid-Friendly Fun: Children love the colorful sprinkles and the handheld “sandwich” format.
- Minimal Effort, Maximum Impact: Using store-bought cookies makes these incredibly fast to assemble.
- Customizable Colors: While we’re going with red, white, and blue, you can swap sprinkles for any holiday.
- Stress-Free Hosting: Since they are kept in the freezer, you can pull them out exactly when you’re ready to serve.
The Evolution: Why Mini is Better
The traditional ice cream sandwich—a slab of vanilla between two chocolate wafers—was invented in New York City in the late 1800s as a portable “street food.” The Patriotic Mini version takes that heritage and scales it down for modern gatherings.
By using smaller cookies and rolling the edges in festive sprinkles, we transform a simple snack into a decorative element for your dessert table. The smaller size also means the ice cream melts more slowly in your hand, making them the ideal choice for outdoor July celebrations where the heat is a factor.
Ingredients for Patriotic Mini Ice Cream Sandwiches
For a professional result, use soft-baked cookies rather than “crispy” ones to ensure they don’t break when you bite into them.
Core Ingredients:
- 24 Mini Chocolate Chip or Chocolate Wafer Cookies: Look for “Soft Baked” varieties.
- 1 Pint Vanilla Ice Cream: Or your favorite flavor—strawberry or blueberry works great too!
- ½ cup Patriotic Sprinkles: A mix of red, white, and blue stars, jimmies, and nonpareils.
Optional Garnishes:
- Mini Chocolate Chips: To add extra crunch.
- Freeze-Dried Strawberries: Crushed into a powder for a natural red coating.
- Blueberry Jam: A tiny swirl inside the ice cream for a “Blueberry Pie” feel.
Step-by-Step Instructions: How to Assemble Like a Pro
Step 1: Prep Your Station
Line a small baking sheet with parchment paper and place it in the freezer for 10 minutes. Set your ice cream out on the counter for 5 minutes to soften just enough to scoop, but not enough to melt.
Step 2: The Perfect Scoop
Place 12 of your mini cookies bottom-side up on a clean surface. Use a small cookie scoop or a tablespoon to place a rounded mound of ice cream onto the center of each cookie. Pro Tip: If the ice cream starts getting too soft, put it back in the freezer for a few minutes. Speed is key!
Step 3: The Sandwich
Top each ice cream mound with a second cookie. Gently press down until the ice cream reaches the very edges of the cookies.
Step 4: The Sprinkle Roll
Place your patriotic sprinkles in a shallow bowl. Take each sandwich and roll the edges through the sprinkles, pressing gently so they adhere to the exposed ice cream. Pro Tip: If you want a more “random” look, you can also just hand-sprinkle the edges over the bowl.
Step 5: The Flash Freeze
Place the finished sandwiches on your chilled baking sheet. Freeze for at least 2 hours, or until the ice cream is completely firm.
Step 6: Serve and Enjoy
Pull them straight from the freezer and serve immediately. They are best enjoyed when the cookie is soft and the ice cream is solid!
The Science: How Freezing Changes the Cookie
Have you ever wondered why homemade ice cream sandwiches often feel like a rock? It’s all about the moisture. As the sandwiches sit in the freezer, a tiny amount of moisture from the ice cream migrates into the cookie. This hydrates the starches in the flour, turning a potentially crunchy cookie into a soft, pliable wafer. This is why the 2-hour “rest” in the freezer is actually a culinary step—it’s what gives you that signature “clean bite” where the cookie and ice cream have the same level of resistance.
Pro Tips for the Perfect Assembly
- Chill the Pan: Always assemble on a pre-chilled pan. This buys you extra time before the ice cream starts to run.
- Uniformity: Use a small cookie scoop (1-inch diameter) to ensure every sandwich has the exact same amount of ice cream. It looks much more professional on a platter!
- The “Dip” Method: If rolling is too slow, you can “dip” the edges into a bowl of sprinkles, rotating as you go.
Creative Variations
- Chocolate Overload: Use chocolate cookies with chocolate ice cream and roll in red and blue M&Ms.
- Berry Blast: Use vanilla cookies with strawberry ice cream and roll in blue sprinkles.
- Ice Cream Sandwich “Cake”: Layer 24 mini sandwiches in a pan, top with whipped cream and more sprinkles, and slice into squares.
How to Store and Make-Ahead
- To Store: Once firm, transfer the sandwiches from the tray into an airtight container or a freezer bag. They will stay fresh for up to 2 weeks.
- Make-Ahead: I highly recommend making these 24 hours in advance. It ensures the texture is perfect and saves you time on the day of your party.
- Note: To prevent freezer burn, you can wrap each individual mini sandwich in a small square of plastic wrap once they are fully frozen.
Serving and Presentation Ideas
- Patriotic Platter: Serve on a white plate lined with a blue napkin. Arrange them in rows or in the shape of a star.
- Individual Cups: Place each mini sandwich in a colorful cupcake liner to make them easy for guests to grab without getting sticky fingers.
Frequently Asked Questions
Q: My cookies are breaking. What happened? A: This usually means the cookies were too crispy or the ice cream was too hard. Use soft-baked cookies and let the ice cream soften slightly before pressing the sandwiches together.
Q: Can I use “light” ice cream? A: You can, but “light” ice cream has a higher water content and tends to melt faster and become “icy” in the freezer. For the best “Alice-approved” results, use a full-fat premium ice cream.
Q: What if I can’t find mini cookies? A: You can use regular-sized cookies and just make larger sandwiches! You’ll just need to increase the amount of ice cream and sprinkles.
Patriotic Mini Ice Cream Sandwiches
Equipment
- Baking sheet
- Parchment paper
- small cookie scoop (1 tbsp)
- shallow bowl for sprinkles
Ingredients
- 24 mini chocolate chip cookies (soft-baked preferred)
- 1 pint vanilla ice cream
- 1/2 cup patriotic red, white, and blue sprinkles
Instructions
- Chill a parchment-lined baking sheet in the freezer for 10 minutes. Let the ice cream sit out for 5 minutes to soften slightly.
- Place 12 cookies bottom-side up. Scoop 1 tablespoon of vanilla ice cream onto each cookie.
- Top with the remaining 12 cookies and press gently until the ice cream reaches the edges.
- Roll the exposed ice cream edges in the patriotic sprinkles until fully coated.
- Place sandwiches on the chilled baking sheet and freeze for at least 2 hours until firm.
- Serve directly from the freezer while cold and firm.